Imagine you are visiting a lovely landscape and want to send some snaps to your loved ones. You pull out your iPhone from the pocket and it shows SOS only on the Status bar. This is downright annoying and you might have a hard time ahead.
In this guide, we will talk about what an SOS-only iPhone is and why this shows up. We will also show you some effective fixes that will help you get rid of the situation. So let’s get started with the basics.
What Is SOS Only iPhone?

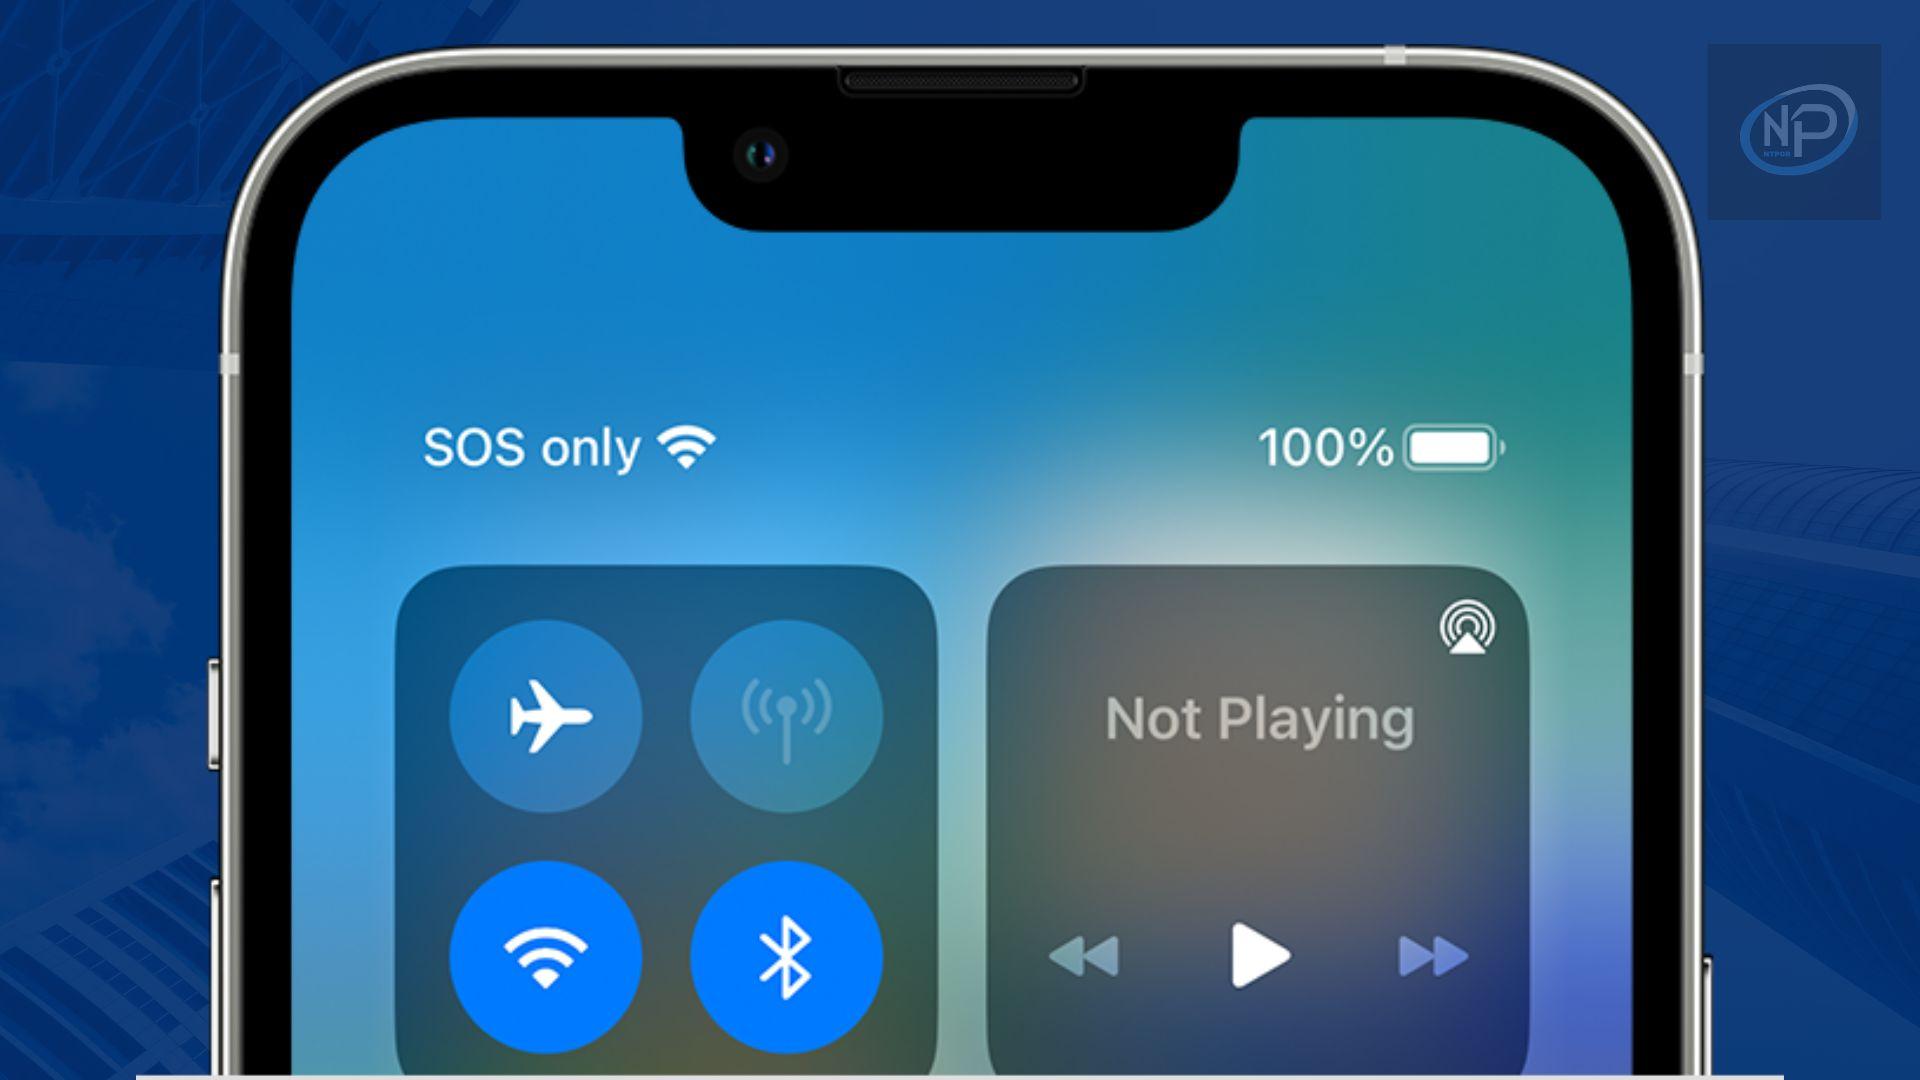
Generally, the status bar on your iPhone shows the network information at the top. If you have subscribed to a cellular network, it will show the network type and strength. But in some cases, there will be the SOS or SOS-only sign.
It means your phone is outside the cellular network coverage of the service provider. Moreover, If you travel to a place where the network services provider doesn’t have coverage, you will see the SOS-only message on the Status bar.
In this situation, you can’t make phone calls or send text messages. Also, you can’t access the internet using mobile data. But if you live in the United States, Canada, or Australia, you can call emergency services even if the iPhone is showing SOS only. For example, you can call 911 from an iPhone with the SOS only message in the United States.
11 Ways to Fix SOS Only iPhone
Follow these techniques to regain access to your iPhone’s calls, messages, or mobile data.
1. Change Your Location

Network service providers like AT&T and Verizon Wireless might not have coverage in the area you are in. So change your location and see if the SOS only sign goes away. If not, head to the next technique.
2. Restart Mobile Data
Occasionally, Network errors can cause this issue, and restarting the data connection can solve it.
Steps: Go to the Control Center on your iPhone. Tap the Mobile Data icon in the Control Center to turn it off. After a few seconds, tap it again to turn the mobile data back on.


The network bar should appear now. But if it doesn’t, we have more fixes.
3. Turn On Data Roaming to fix SOS Only from iPhone
While traveling, the SOS only message can appear if you keep the data roaming off.
Step 1: Go to Settings and tap “Cellular” or “Mobile Data”


Step 2: If you are using dual SIM on your iPhone, you will see the names of the two SIMs here. From here you have to select the SIM which has roaming service. And if you are using a single sim then you can directly select the sim. For example, I’m selecting the first one.


Step 3: Now, You have to turn ON the toggle switch beside Data Roaming. It should solve the problem. If not, you can try the next fix.
4. Select 4G Network to prevent SOS Only iPhone Issue
If you use 5G on your iPhone, the network coverage might not be great everywhere. Eventually, switching to the 4G network can mitigate the issue.
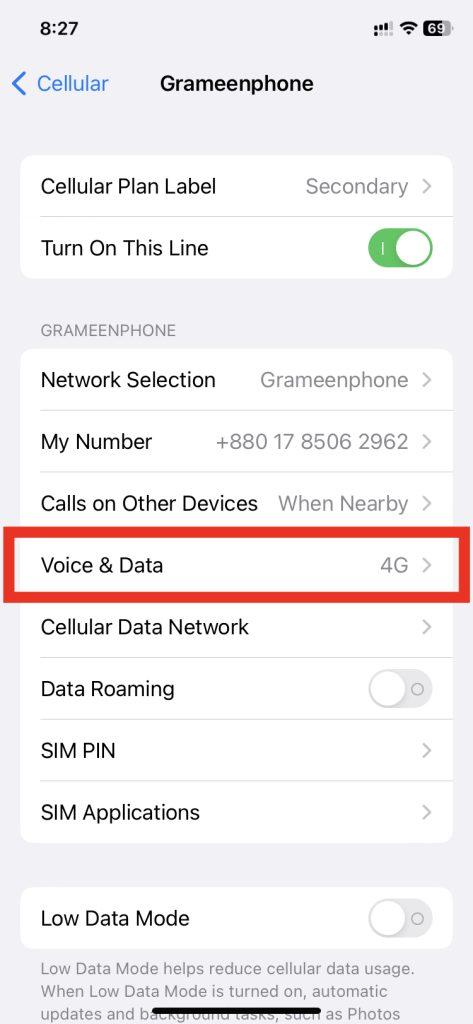
Step 1: Go to Settings > Tap on “Cellular/Mobile Data”. Then Select your SIM card


Step 2: Tap on “Voice & Data”. Now choose 4G/LTE from there and the network service should appear.

5. Restart Your iPhone
If the previous methods don’t work, you can try restarting the phone. This usually solves some common quirks.
Step 1: Press the Side button and volume down button simultaneously and hold them for some time. The power-off screen will come up. Then, slide the power-off icon to shut the device down.


Step 2: Once the phone is turned off, wait a bit. Then, press and hold the power button/Side button to turn on the phone.
6. Change the Network Selection Mode
Seeking a new connection to your network service provider may solve the problem.
Step 1: Go to Settings & Tap Mobile Data/Cellular
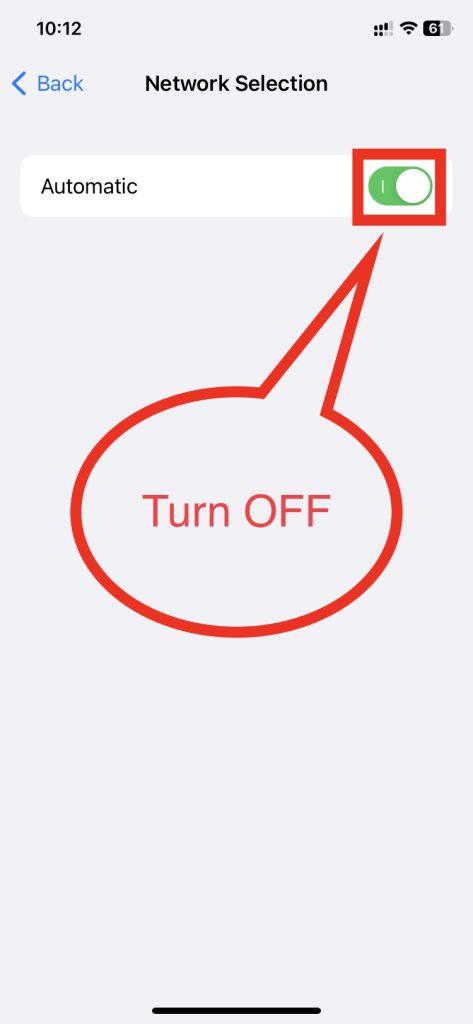
Choose your SIM card (for me it’s Secondary) then Tap “Network Selection”.

Step 2: Turn off the toggle switch beside Automatic if it is turned on. Wait for a few seconds and then turn it back on.

7. Check for a Carrier Settings Update
Sometimes, faulty or incomplete carrier settings might cause SOS-Only iPhone. Remember, you can only perform this fix if your iPhone is connected to a Wi-Fi network.
Step 1: Go to Settings > Tap on “General” and then go to “About”.


Step 2: If a carrier settings update is available, it will prompt you to update settings. Tap on Update to install the latest settings.
8. Update the Latest iOS to Fix this “SOS Only” Problem on the iPhone
The SOS-only message can sometimes appear due to software issues. Updating to the latest version of iOS can solve the problem.
Steps: Go to Settings > Tap on “General” and then go to “Software Update”.


9. Remove the SIM and Insert It Again

Removing the physical SIM card from your phone and inserting it again can sometimes eliminate the SOS-only issue. Also, check the SIM for signs of wear or damage.
10. Reset Network Settings
Before you proceed any further, remember that it will reset your Wi-Fi networks and passwords. Also, other mobile data settings and VPN settings will also be wiped out.
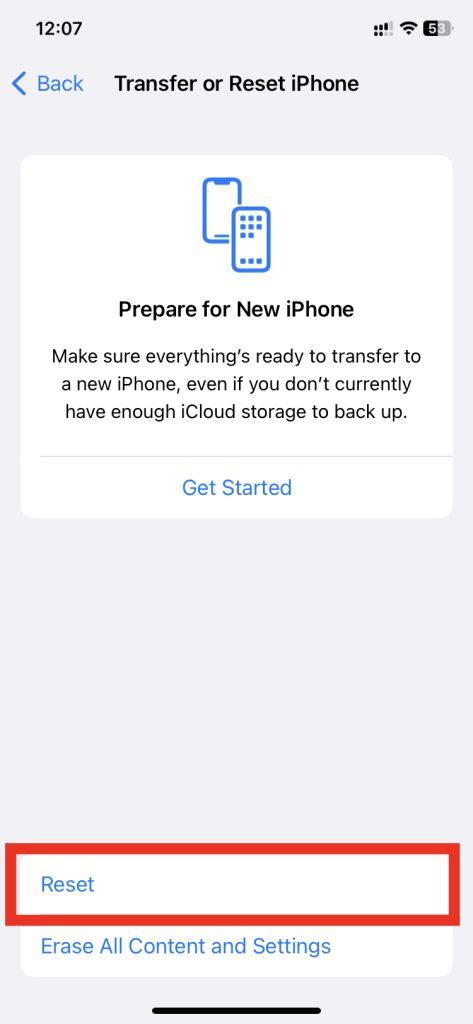
Step 1: Go to Settings > General > At the bottom of the menu, you will find “Transfer or Reset iPhone”. Select it.

Step 2: Tap on “Reset”. From the options, select “Reset Network Settings”. You might need to enter the password to perform the action.

Step 3: It will ask you to confirm. Tap Reset Network Settings to confirm.
11. Contact Customer Support of Your Carrier

If none of the above techniques work in your case, the last resort is to contact the customer support of your network service provider. They might replace your physical SIM or help you set up a new eSIM.
Suggested Article for you: How to Clear Cookies from iPhone
Conclusion
SOS-only iPhone can be a frustrating issue that refrains you from calling, sending text messages, or accessing the internet using mobile data. Basically changing your location to an area with good network coverage usually solves the issue. But if it doesn’t, we provided some effective methods to fix the issue.