Today I will talk about how you can change ownership of AirPods. Whether you want to sell your AirPods or buy AirPods from someone else, transferring ownership is necessary. Without transferring ownership, new users can’t connect the AirPods to their Apple devices.
But many people don’t exactly know how to change ownership of AirPods. You can remove the AirPods from the connected Apple ID in two ways. One is by forgetting the device from the paired device list. Another is resetting the AirPods using the charging case.
In this write-up, I will walk you through both methods and break down the process into simple steps. Let’s get into it.
Why Do You Need to Change Ownership of AirPods?
As Apple brings updated versions of their devices every year, many users like to upgrade their AirPods. And when they switch to the latest version, it is pointless to have the previous version. So, many users tend to give away their AirPods to their friends or family.
In some cases, users sell the AirPods to others. It is crucial to change ownership before selling the AirPods or giving them away. This is because AirPods are connected to the Apple ID of the current user. If they aren’t removed from the Apple ID, other users may not be able to connect the AirPods to their devices.
Method 1: Removing AirPods from iCloud or Apple ID
Before you perform the following operations, make sure the AirPods are charged. Also, the AirPods should be connected to your Apple devices, such as iPhone or iPad. Then, follow the steps carefully.
Step 1
On your iPhone or iPad, go to Settings > Tap on Bluetooth.


In the Bluetooth menu, you will find a list of devices paired with your iPhone or iPad. The AirPods should be on the list and show as “Connected”.
Step 2
Tap the small info icon on the right of the device name (It will look like the letter “i” inside a circle)

Step 3
A new menu will pop up. You will find the “Forget This Device” option at the bottom of the menu. Tap it.


That’s it. The AirPods will disappear from the My Devices list and it is now removed from the Apple ID. If you need to use the AirPods again on any device with the Apple ID, you need to connect them again.
Remember, the process is also similar on a MacBook. If you use a MacBook, go to the Bluetooth settings of the device. Then, select the AirPods and click the info icon. Finally, click Forget This Device to disconnect the AirPods from your Apple ID.
Method 2: Doing a Factory Reset on AirPods
Another easy way to change ownership of AirPods or AirPods Pro is to factory reset the device. I will show you how to reset AirPods Pro from the previous owner in some easy steps.
Please Note: Before you perform a factory reset, make sure both the AirPods and the charging case are properly charged.
Step 1
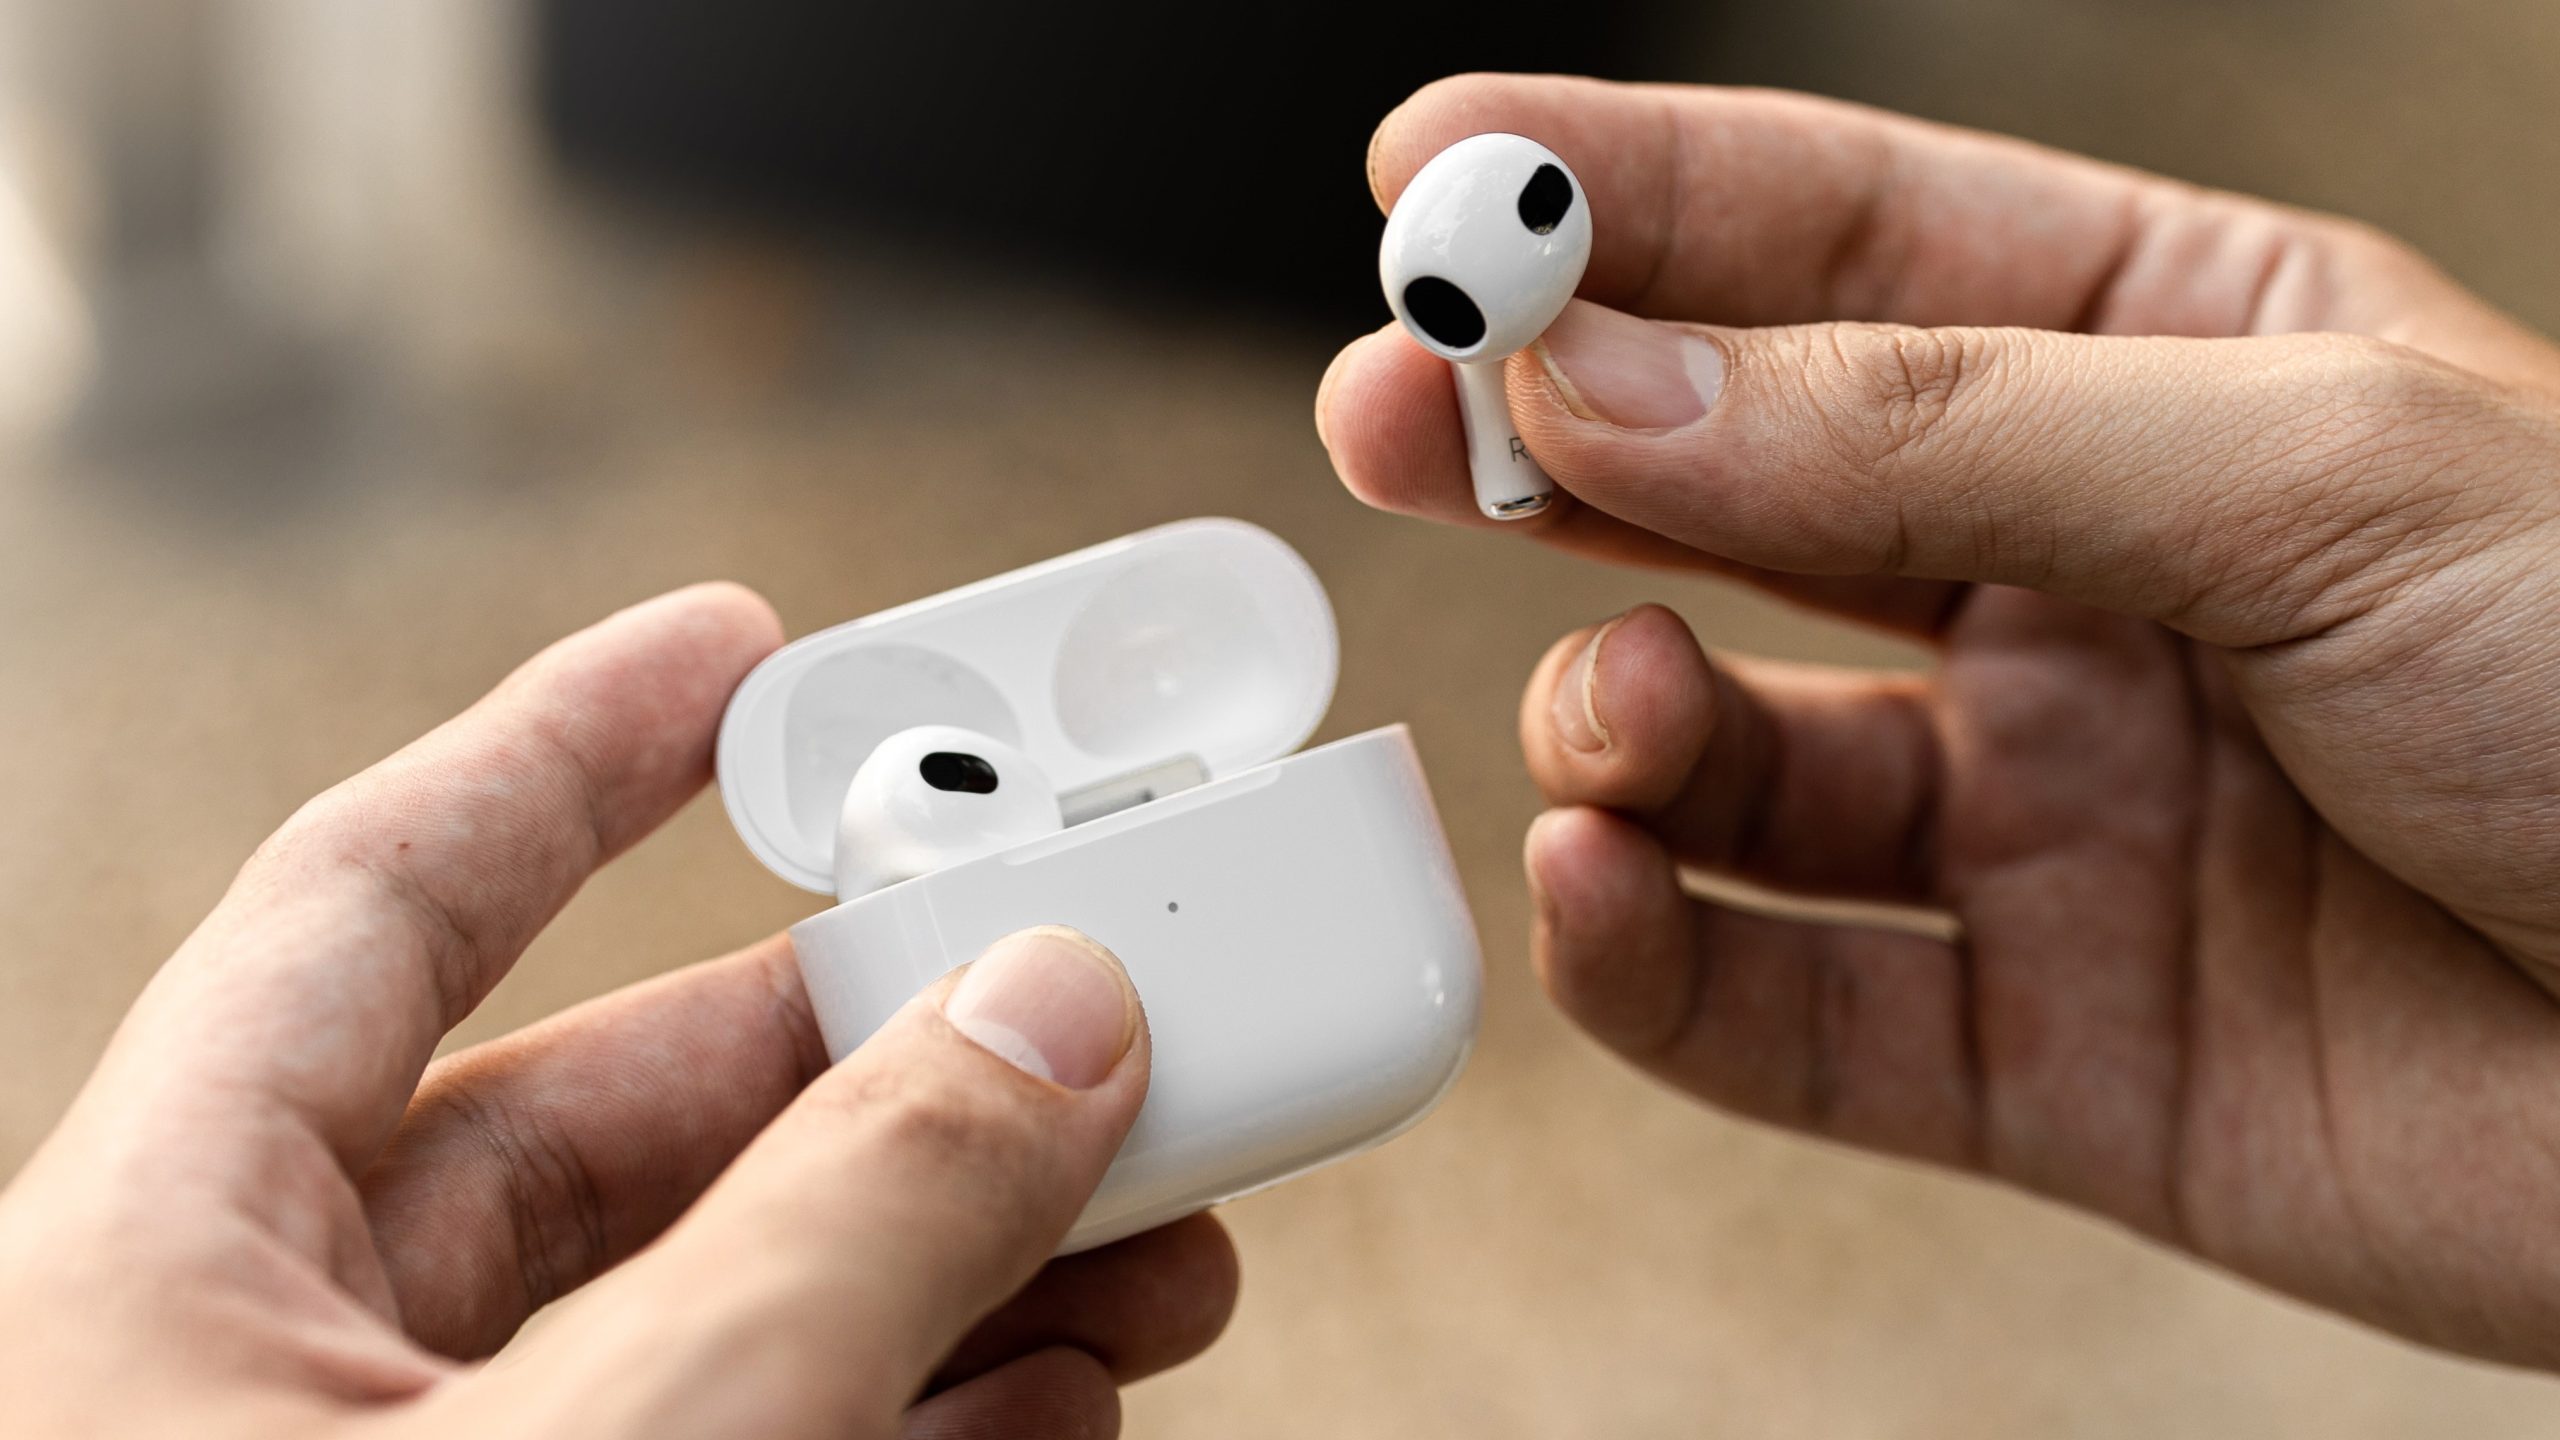
If the AirPods aren’t in the charging case, you need to put them inside it first. Open the lid of the AirPods charging case and put the AirPods inside.

After that, close the lid of the charging case and let it be for 1-2 minutes. Then, open the lid again.
Step 2
Find the setup button on the back of the charging case. Press the button and hold it for about 15 seconds.

Once you hold the button for 15 seconds, the status light will start flashing. At first, it will flash an amber light. After a few seconds, the color will change to white.
Once the status light is white, you can release the setup button.
You have successfully performed a factory reset and your AirPods are now ready to be transferred or sold.
How to Change the Name of AirPods?
After transferring ownership of AirPods or AirPods Pro, the new user can also change the name of the device. Here is how to do it.
Step 1
Make sure the AirPods are connected to the new device. Then go to Settings > tap on Bluetooth.

Step 2
Tap on the info button beside the AirPods name.
Finally, tap the “Name” option and edit the AirPods name.

How to Add AirPods to a New Apple ID?
In case you are buying AirPods from someone and learned how to change ownership of AirPods, you still need to know how to connect the AirPods to your Apple ID. Here is a short guide to that.
Step 1
Make sure the AirPods are inside the charging case and the lid of the case is open.
Step 2
Go to Settings and then Bluetooth on the device you want to connect the AirPods to. Then, turn on the Bluetooth.
Step 3
Bring the charging case and the iPhone or iPad close to each other. Your iPhone or iPad will detect the AirPods and the setup option will pop up.
Step 4
Press the Connect button on your iPhone or iPad. Then, press the setup button on the back of the charging case and hold it for 10 seconds.
After some time, the AirPods will be connected to your iPhone or iPad. You can now see the battery percentage of the AirPods and the charging case on your screen.
After adding your second-hand AirPods to your Apple ID, You should update it to the latest firmware to fix battery-draining-related issues.
Conclusion
AirPods exchange between users is a common incident. But often people forget to unlink their Apple ID from AirPods and new users struggle to use the AirPods. So, I wanted to show you how to change ownership of AirPods or how to reset AirPods Pro from the previous owner.
Follow the steps mentioned above to unlink AirPods from the previous user’s Apple ID easily.
